Quick Repair Tips for All Types of Roofs
Roof repair should be done promptly to maintain the integrity of your house. Ignoring damage to your roof can lead to:
- Worsening leaks that invite water damage
- Structural issues resulting in costly repairs
- Mold growth, posing health risks
Repairing different types of roofs such as clay tiles, asphalt shingles, and metal requires unique methods. Each material has its own challenges and solutions. The best people to handle the task are roof repair specialists in Auckland, who have a thorough understanding of all roof types and repair techniques.
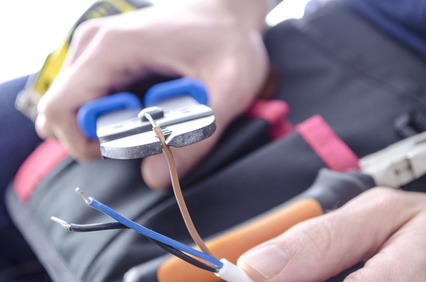
We’re your honest roofers and we can provide you with effective techniques to patch a hole, no matter what type of hole it is. You can save time and money by knowing how to repair small holes and leaks. Your roof will remain in top condition for many years.
By performing timely maintenance and repairs, you will be able to protect your investment and save money.
Roof Damage: Causes & Consequences
Roof damage is caused by a variety of factors, which can affect the structural integrity of your home. Here are some of the most common causes.
- Extreme weather conditions: Hail, heavy rain, windstorms and snow can cause roofing materials to wear out.
- Wear and tear due to age: Materials deteriorate with age, causing roofs to be vulnerable.
- Lacking regular maintenance: By neglecting routine inspections, minor problems can escalate.
Neglecting small leaks or signs can lead to serious consequences. Here are some possible outcomes:
- Damage to the structure: Water intrusion can weaken beams or supports and threaten the entire structure.
- Growth of mold: Damp conditions promote the growth of mold which can pose health risks.
By understanding these causes and their consequences, you can protect your property from escalating problems.
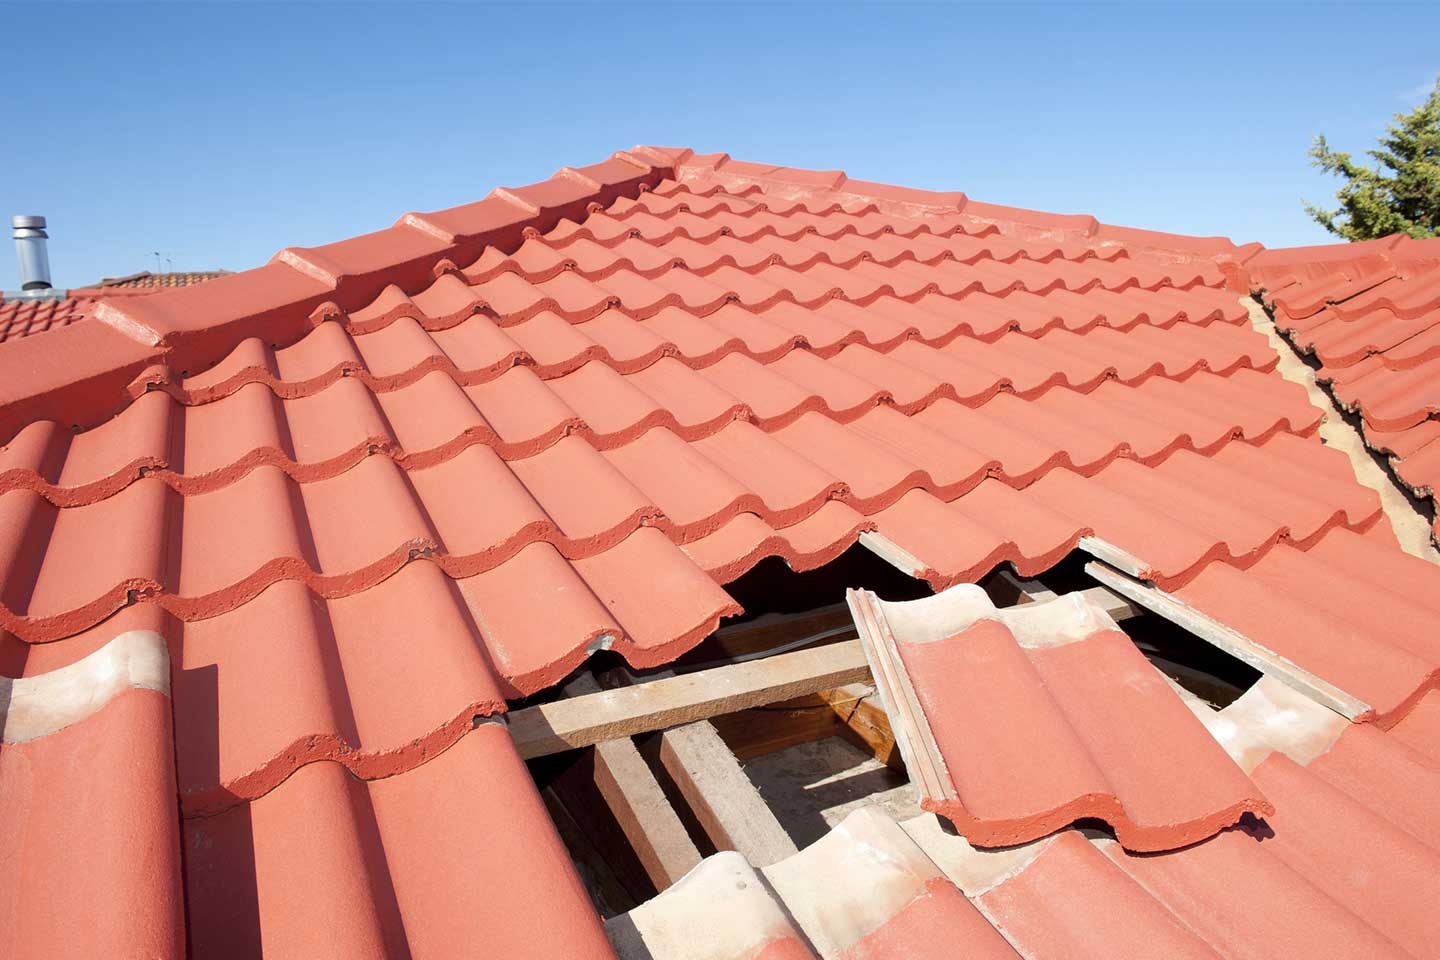
Steps to Assess the Roof Damage
Before beginning any roof repair, it is important to conduct a thorough inspection. It is important to address all areas that are affected. How to evaluate your roof
1. Visual Inspection
Start by inspecting your roof at ground level or from a safe vantage. You should look for:
- Missing or damaged shingles
- Rust or corrosion on metal roofs
- Broken tiles on clay roofs
2. Check Attic Space
Look for: Check for:
- Water stains or beams or insulation
- Daylight leaking through the boards
- Mold growth indicates prolonged moisture exposure
3. Measure Repair Area
Measure the damaged area accurately to ensure that appropriate patching material is cut and prepared.
These steps will not only identify visible damage, but they may also reveal underlying problems that require immediate attention. This can prevent further complications in the future.
Tools and Materials Required for Roof Repair
The right materials and tools are essential for successful roof repairs. Here is a list with the key tools you’ll need for roof patching.
- Sturdy Ladder: Ensures safe access to your roof.
- Waterproof Tarp: This tarp protects you from rain when you are working. It should be bigger than the hole.
- Roofing Nails or Screws: Secure patches in place effectively.
- Non Slip Shoes: Provide stability when working at heights.
- Rubber Gloves: Protect your hands during repairs.
It is important to choose the right roofing material. Different types of roofs require different patching solutions.
Roofing Materials for Patching
- Asphalt shingles: Patches can be made using matching shingles or roofing cement for small holes.
- Metal flashing: Suitable for medium-sized holes, it is durable and resistant to weather.
- Tarps with Self-Adhesive Backing: Ideal for fast fixes on low-pitched roofs and flat roofs.
The lifespan of your repairs is increased by using high-quality products. Quality products are able to withstand harsh weather conditions and will ensure that the patched area is intact for a long time. The right tools and materials will not only simplify the roof repair but will also increase its longevity.
Prioritizing Safety During Roof Repairs
When tackling roof repair, safety should be the top priority. Take into consideration the following safety tips.
- Wear safety gear: Protect yourself from sharp edges, debris, and other hazards by wearing rubber gloves, non-slip footwear, and a mask.
- Select the right weather conditions: Plan your repairs on a day when there is minimal wind and no rain.
- Get assistance: Ask someone to assist you below. This will provide extra support if an emergency occurs.
- Create an exit strategy: Have a plan for escaping the roof quickly if necessary.
How to Repair a Roof Hole Like a Professional!
Following these steps makes the task of patching a roof hole manageable. How to fix a hole on a roof confidently.
Preparation Stage
Remove Debris
Clear away all debris from the area that has been damaged. It will prevent further damage and keep the area clean. Use tools like:
- Broom
- Brush
- Vacuum (for smaller debris)
Measuring & Cutting Stage
Measure Accurately
For the best fit, accurate measurements are essential. Add at least two inches to the measurement of the hole for better adhesion.
Cutting Material
Cut your patching material carefully according to your measurements. Take safety precautions at all times:
- Use gloves when handling sharp edges
- Protect your eyes with safety goggles.
Applying Sealant Stage
Sealant Application
Apply roofing cement to the edge of the hole and extend it out at least one inch. This step is crucial to prevent water from leaking through the gaps. Allow for the curing time of tar-based products (typically between 24 and 48 hours) before moving on.
Securing Patch into Place Stage
Secure The Patch
Position the patch over the hole, and press it into place. For:
- Small patches, pressing may suffice.
- For larger patches, you can secure them using screws or nails driven into pre-drilled holes during your preparation phase.
Finishing Touches Stage
Final Sealant Layer
Apply another layer of sealant around the perimeter. It will ensure a tight seal that can be painted later if desired.
These systematic steps can help you repair roof holes quickly and efficiently, while also ensuring that the repairs are long lasting. Each step is crucial to achieving a positive outcome and protecting your home.
Temporary Roof Repair Solutions
If immediate action is needed, installing a temporary patch on the roof can help prevent further damage. Consider the following scenarios.
- Storm or Heavy Rain Forecast: Quick measures are necessary if a storm is nearing and a leak has been detected.
- Water damage visible: If you notice signs of water damage in your attic, or stains on the ceilings, it is time to act.
Adhesive solutions or waterproof tarps can be used as a short-term solution.
Steps for Temporary Patching:
- Place a Waterproof Tarp : Make sure it covers the entire damaged area.
- Secure the Edges With Roofing Nails: Use adhesive tape or nails to secure the tarp and prevent it from being blown away by wind.
- Look for gaps: Inspect your tarp regularly to make sure there are no leaks.
These temporary solutions are only meant to be used as a stopgap until professional repairs can take place. Long-term exposure to the sun without adequate protection can cause more damage and costlier repairs.
When to Hire Professionals to Maintain Your Roof
It is important to act quickly when dealing with roof problems
DIY Repairs: Fix small holes in an emergency.
Professional Help: For larger holes, extensive damage, or structural concerns, seek expert assistance.
Safety First: If you are unsure of your abilities or the repair’s complexity, it is best to contact a roofing contractor.
Ignoring problems could lead to more expensive repairs and greater damage. Protect your investment by being proactive and ensuring your roof is sturdy for many years.